Docker and Portainer - A Perfect Match
Docker has been a life saver for me on my personal server at home, I can’t stress that point enough. Before I found and started to use Docker, I would install all the apps and things I wanted to test locally. It was a mess, and I would need to wipe the server a lot when things would really break. If I had two services that need apache or something else, I couldn’t always use it as my knowledge was limited.
I knew Docker was a thing, but I never really looked into it until I was so frustrated with how many times I destroyed my server, I finally decided to jump in. Let me tell you, the difference in my day to day for testing is crazy. I can easily spin up containers and tear them down when I need. I even wrote a post about it.
Install Docker on CentOS
Remove old versions of Docker
The first thing you will want to do if you tried this before is remove any old versions of docker. This will give you a clean system to work on.
$ sudo yum remove docker \
              docker-client \
              docker-client-latest \
              docker-common \
              docker-latest \
              docker-latest-logrotate \
              docker-logrotate \
              docker-engine
Setup the repository for Docker
You will need to run these commands to setup the repository to download docker. There is also a way to download the RPM which I will talk about later
$ sudo yum install -y yum-utils

$ sudo yum-config-manager \
    --add-repo \
    https://download.docker.com/linux/centos/docker-ce.repo
Install Docker via the repository
This simple command will install docker from the repository we setup in the previous section
$ sudo yum install docker-ce docker-ce-cli containerd.io
$ sudo systemctl start docker
Install Docker from a package
The previous steps in my opinion are the best way to install docker, but if you want to just use the package, you can download it from their website. Just make sure to pick the version of Docker you want.
Once you have it downloaded run these simple commands to install and start docker
$ sudo yum install /path/to/package.rpm
$ sudo systemctl start docker
Install Portainer in Docker
Portainer is a very easy install. Once you have docker installed and running, you just need to run two commands to get portainer working
$ docker volume create portainer_data
$ docker run -d -p 8000:8000 -p 9000:9000 --name=portainer --restart=always -v /var/run/docker.sock:/var/run/docker.sock -v portainer_data:/data portainer/portainer-ce
Lets break it down. The first command makes a volume that all of the portainer data will be stored in. This will keep all the data in the event you need to reboot the server and the container needs to spin back up. Without it you would need to configure portainer everytime.
The second command creates a new container called ‘portainer’, sets it to always restart, configures the ports for you and tels it to use the new volume we just created. Now all you need to do is navigate to the following:
http://YOUR-DOCKER-HOST:9000
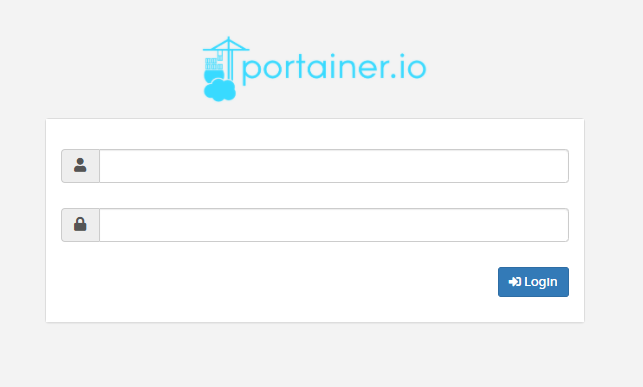
If you see something like this, then you did it right
